手抄报 安全手抄报 手抄报内容 手抄报图片 英语手抄报 清明节手抄报 节约用水手抄报

AI(Adobe Illustrator)怎么使用褶皱工具

时间:2024-10-12 16:18:19

1、打开桌面上的Adobe Illustrator CS6(其他版本也可以)。

AI(Adobe Illustrator)怎么使用褶皱工具

2、在菜单栏找到并依次点击【文件】、【新建】。

AI(Adobe Illustrator)怎么使用褶皱工具

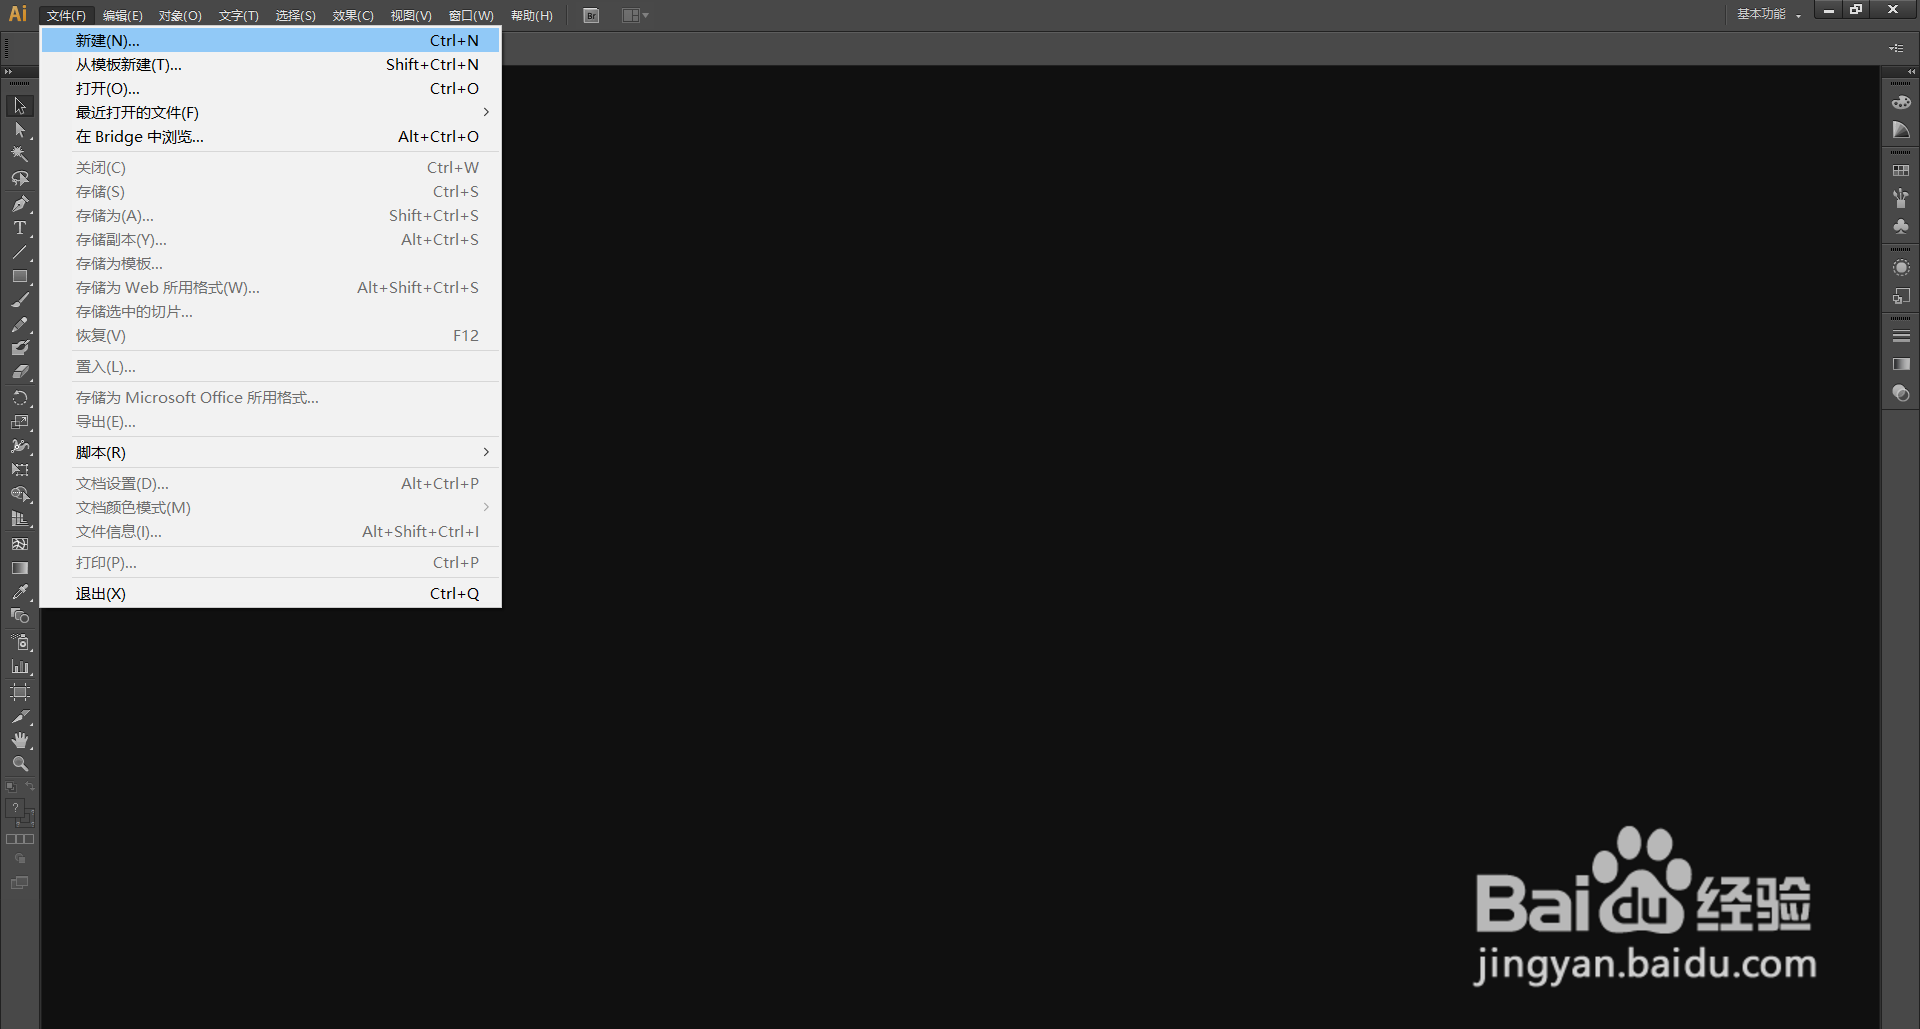
3、在弹出的窗口设置好参数,点击【确定】,新建文档。

AI(Adobe Illustrator)怎么使用褶皱工具

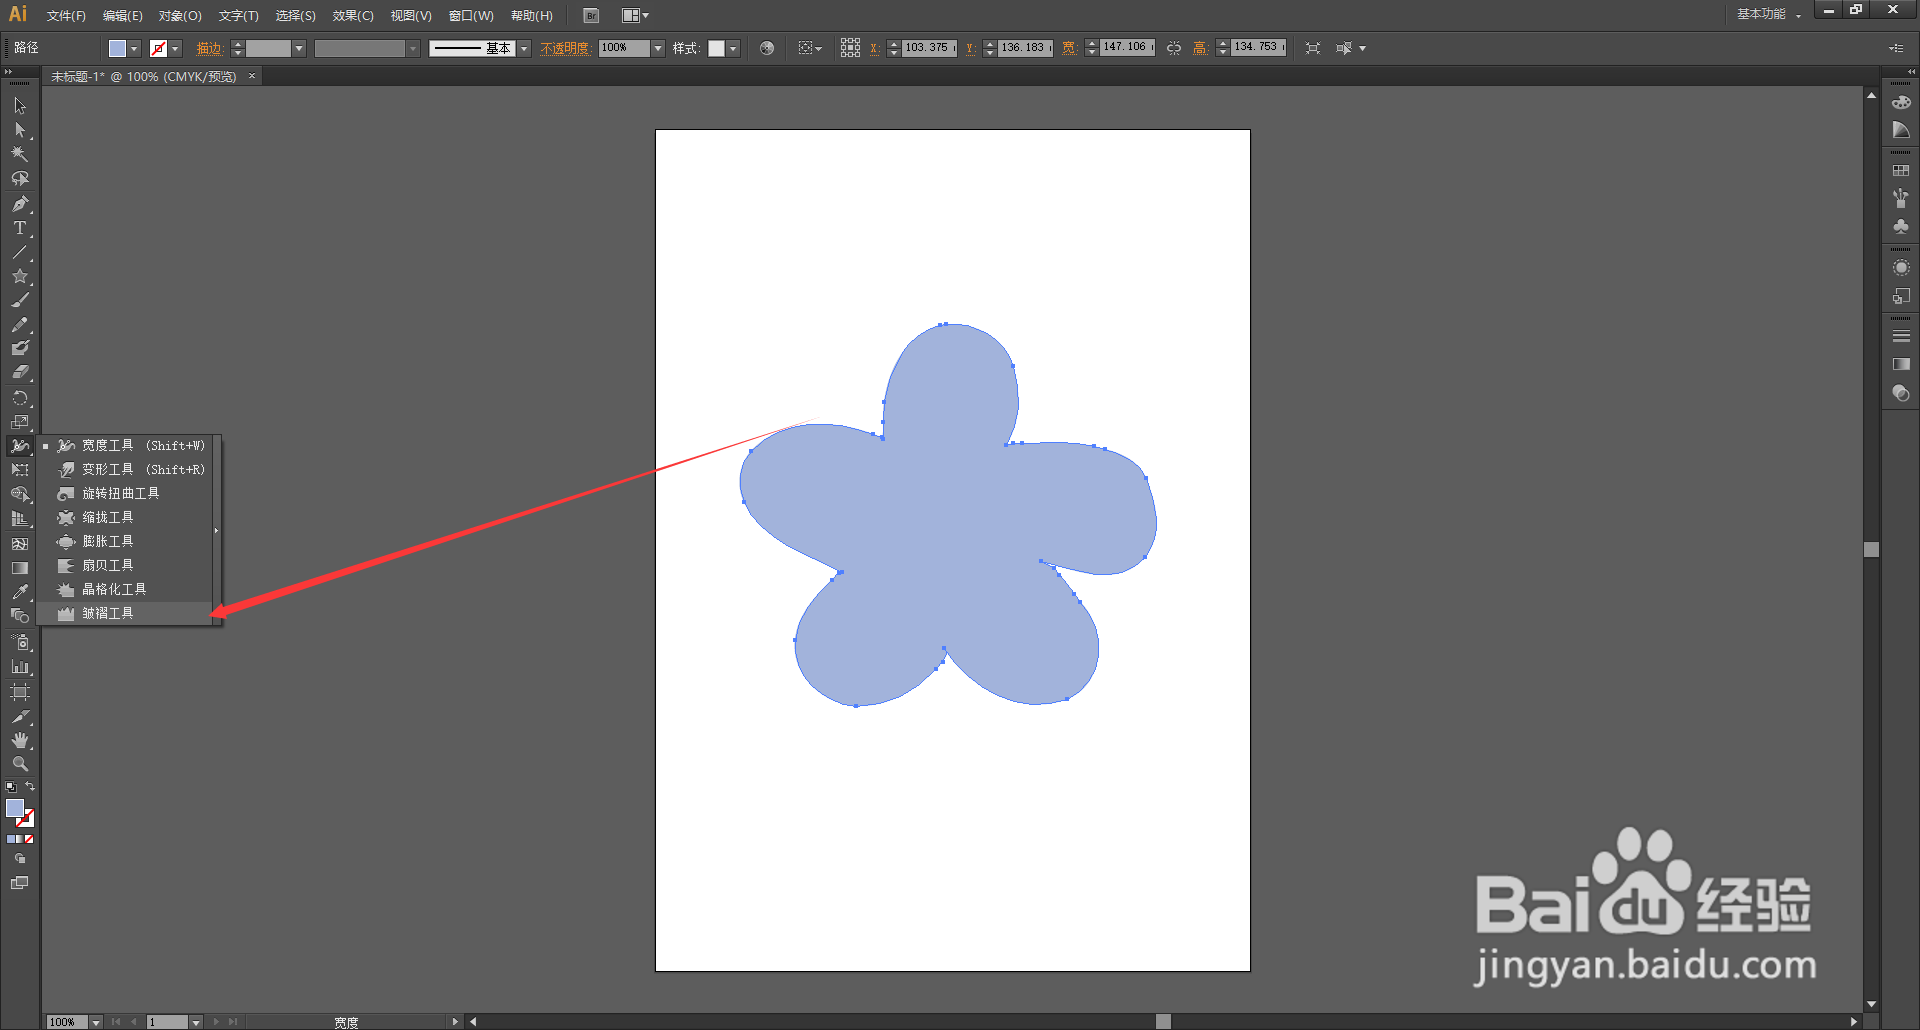
4、绘制好图形后,【选择工具】选中图形,在左边工具栏找到并点击长按【宽度工具】打开下拉列表。

AI(Adobe Illustrator)怎么使用褶皱工具

5、在下拉列表里选择【褶皱工具】。

AI(Adobe Illustrator)怎么使用褶皱工具

6、双击【褶皱工具】弹出【褶皱工具选项窗口】,可以调整参数。调整好之后,点击【确定】。

AI(Adobe Illustrator)怎么使用褶皱工具

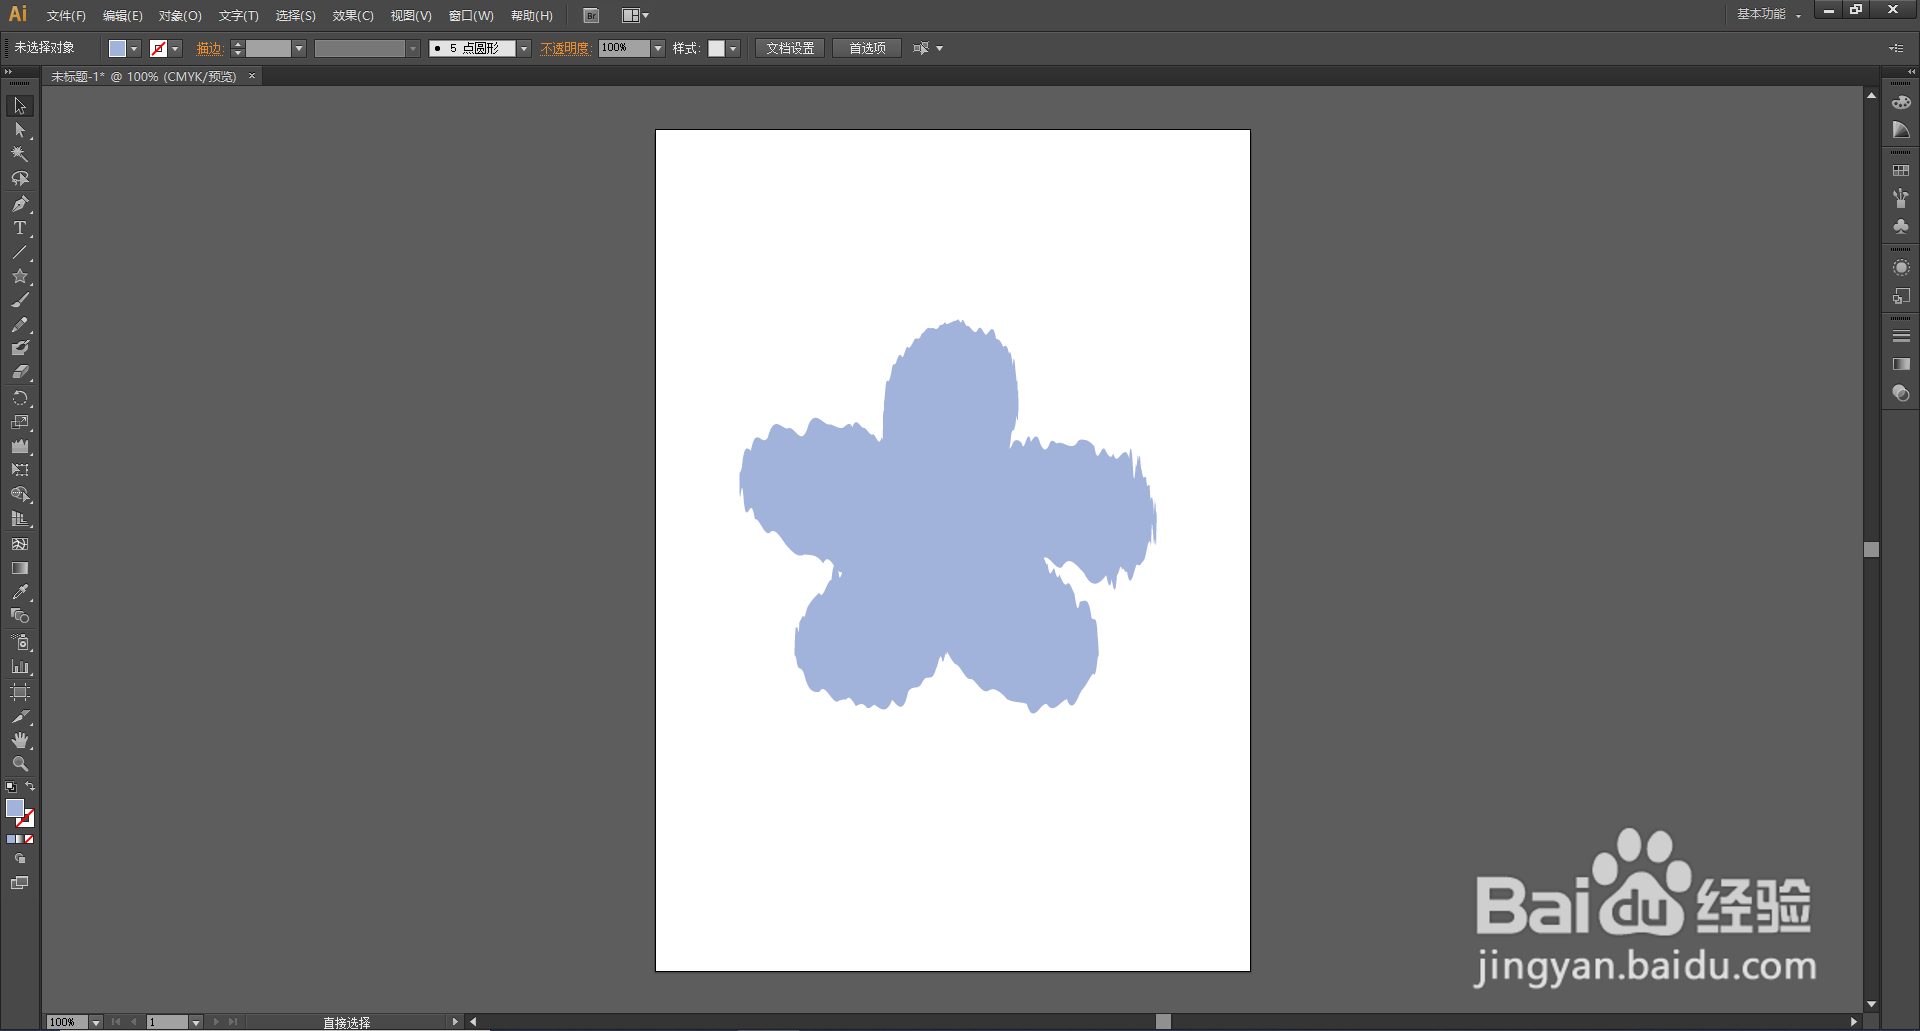
7、使用【褶皱工具】在图形的边缘按住鼠标不放拖动调整,图形就出现了褶皱的效果。

AI(Adobe Illustrator)怎么使用褶皱工具

8、图为小编使用【褶皱工具】将原来的图形的边缘调整之后的效果,大家可以按照自己的需求调整出想要的效果。

AI(Adobe Illustrator)怎么使用褶皱工具
© 手抄报圈