1、前期准备
我们需要先下载好系统和VMware虚拟机,系统可以进Ubuntu官网下载你认为合适的版本,我下载的是 ubuntu-18.04.2-live-server-amd64.iso 服务器版本(无图形界面)。VMware虚拟机百度一下就可以找到了,我们找个绿色版本就可以了(安装简单无需激活)。

2、VMware新建Ubuntu虚拟机
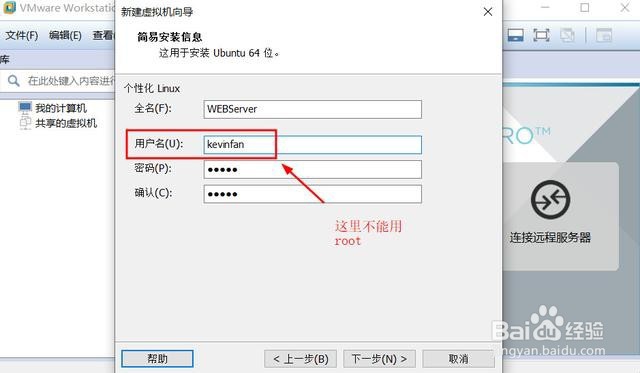
运行VMware并点击新建虚拟机,在弹出的“新建虚拟机向导”窗口中选择-->自定义(高级)-->硬件兼容这里我默认选了Workstation14.x,下一步选择我们下载好的服务器镜像文件ubuntu-18.04.2-live-server-amd64.iso 。接下来配置下服务器的相关信息,处理器和内存大小可以根据自己电脑性能适当的调整,网络选择NAT其他的都选择推荐即可。
这里需要注意的是Ubuntu中root用户是保留用户所以用户名不能用root
3、安装ubuntu系统
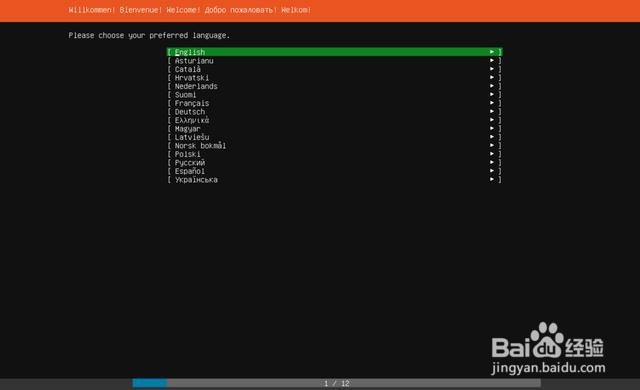
Please choose your preferred language。
配置好之后VMware会启动虚拟机并加载ubuntu镜像,等加载完成之后便进入了安装Ubuntu界面。首先我们需要选择系统使用的语言,服务器版本没有中文这里我们选择English即可(按键盘Enter键确认选择)。
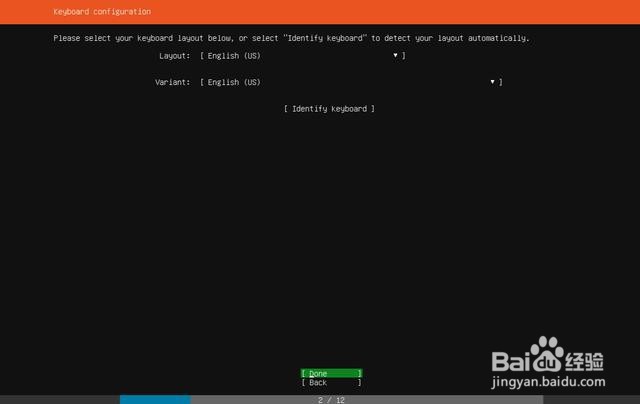
4、Please select your keyboard layout below,or select "Identify keyboard" to detect your layout automatically
接着要我们选择键盘布局(默认时美式键),我们也可以通过“Identify keyboard”选择来自动检测布局。这里可以保持默认设置,直接回车。
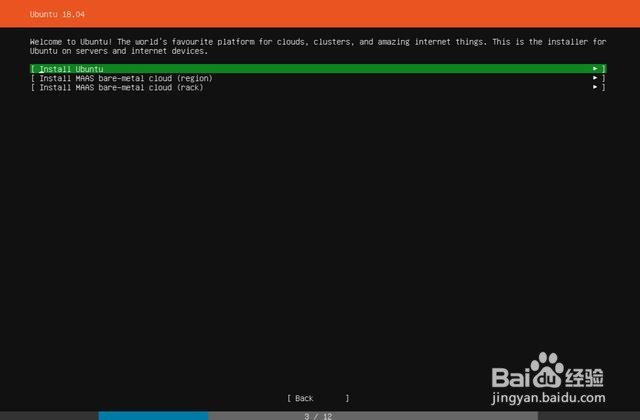
5、Welcome to Ubuntu ! The world's favourite platform for clouds, clusters, and amazing internet things. This is the installer for Ubuntu on servers and internet devices.
这里我们选择安装【Install Ubuntu】,后面两个是云端服务可以暂时略过。
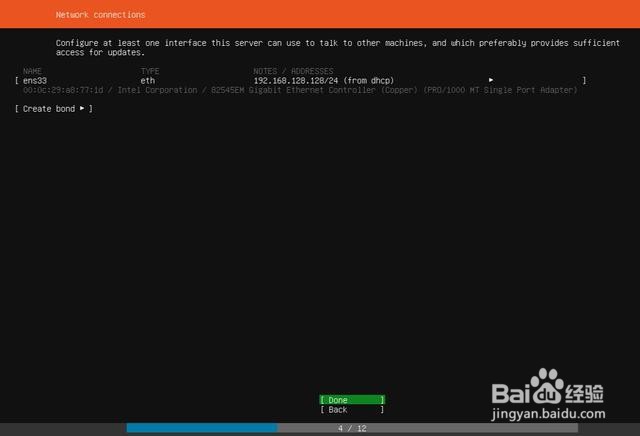
6、Configure at least one interface this server can use to talk to other machines,and which preferably provides sufficient access for updates.
这里是让我们配置至少一个可用于与其他计算机对话的接口,默认通过dhcp的方式获取到一个IP地址192.168.128.128,可以直接选择【Done】进入下一步。
7、If this system requires a proxy to connect to the internet, enter its details here;If you need to use a HTTP proxy to access the outside world,enter the proxy information here.Otherwise,leave this blank;the proxy information should be given in the standard form of http://[[user][:pass]@]host[:port]/
如果你的系统需要通过代理来链接Internet就可以在这里配置,否则留空即可。这里我没有使用代理,所以直接选择【Done】继续下一步。

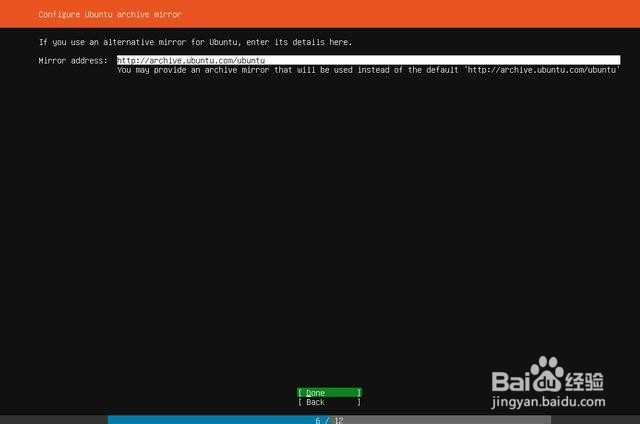
8、If you use an alternative mirror for Ubuntu, enter its details here;you may provide an archive mirror that will be used instead of the default 'http://archive.ubuntu.com/ubuntu'
这里让我们配置Ubuntu镜像源,默认是 'http://archive.ubuntu.com/ubuntu'。这个后面可以修改,这里我们先忽略直接选择【Done】继续下一步
9、The installer can guide you through partitioning an entire disk either directly or using LVM, or, if you prefer,you can do it manually;If you choose to partition an entire disk you will still have a chance to review and modify the results.
这里让我们选择分区方式,程序提供了3中方式分别是使用整个磁盘、使用整个磁盘并设置lvm或者手动分区,这里我选择【Use An entire Disk】分区直接回车下一步。下一页显示VMware为我们虚拟的磁盘,选择该磁盘继续直接回车下一步即可。

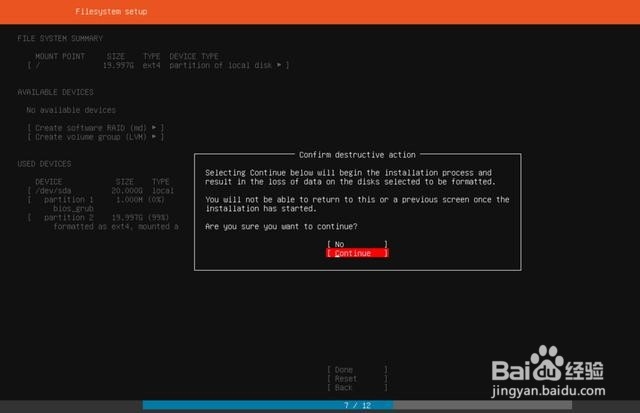
10、Selecting Continue below will begin the installation process and result in the loss of data on the disks selected to be formatted;You will not be able to return to this or a previous screen once the installation has started;Are you sure you want to continue?
程序为我们自动分配好了内存,1M用于bios,其他的全部划分到了根目录。直接选择【Done】继续下一步,然后会弹出一个提示窗口,告诉我们选择继续将开始安装过程并会格式化的磁盘(数据会丢失,提醒 备份)。这里我用的虚拟机所以没影响的,直接选择【Continue】继续下一步。
11、Enter the username and password you will use to log in to the system;You can configure SSH access on the next screen but a password is still needed for sudo.
创建一个用于登录系统的用户,依次输入你的名字、服务器主机名、用户名、用户密码即可,填好之后选择【Done】继续下一步。

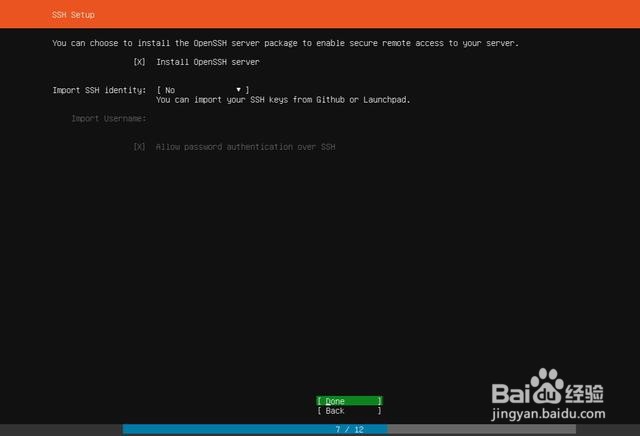
12、You can chose to install the OpenSSH server package to enable secure remote access to your serve.
OpenSSH简称SSH,通过SSH可以实现远程访问服务器,安装时用空格键选择,选中之后跳到【Done】继续下一步。
13、These are popular snaps in server environments. Select or deselect with SPACE,press ENTER to see more details of the package,publisher and versions abailable.
这是服务器中常见的服务,如果你需要安装可以通过空格选择或取消选择,这里可以在后面用到的时候再安装,选择【Done】下一步。

14、完成以上配置之后就进入了安装过程,这里需要点时间还请耐心等待,安装完成后会在[View full log]按钮下多出一个[Reboot Now]按钮。我们选择【Reboot Now】重启ubuntu,接下来我们就可以开启Linux之旅了!
