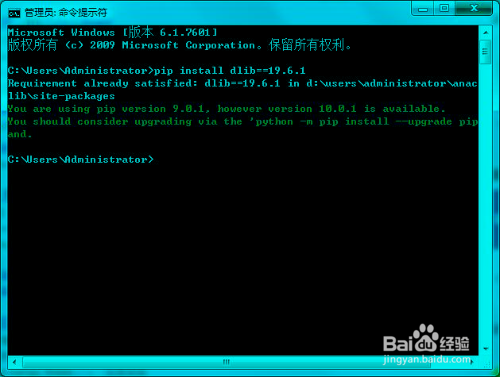
1、opencv模块的安装,请参考下面的链接。
dlib模块,请使用pip安装dlib==19.6.1。
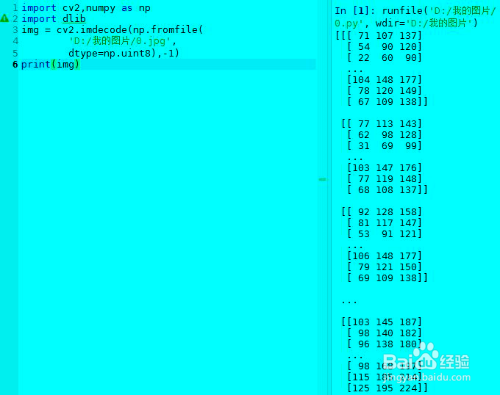
2、用opencv读取图片数据:
img = cv2.imdecode(np.fromfile(
'D:/我的图片/0.jpg',
dtype=np.uint8),-1)
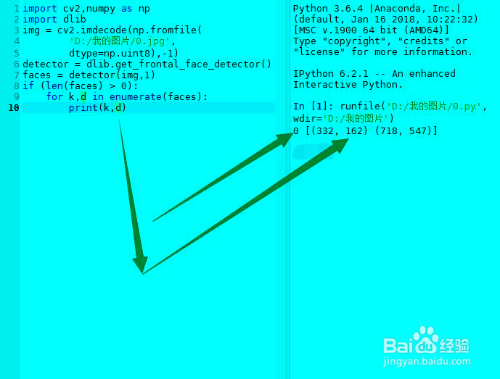
3、给出一个人脸检测器:
detector = dlib.get_frontal_face_detector()
用它来检测人脸,返回图中人脸的个数和坐标位置:
faces = detector(img,1)
if (len(faces) > 0):
for k,d in enumerate(faces):
print(k,d)
看下面的图片,k只有0,说明只找到一个人脸,d是人脸的坐标。
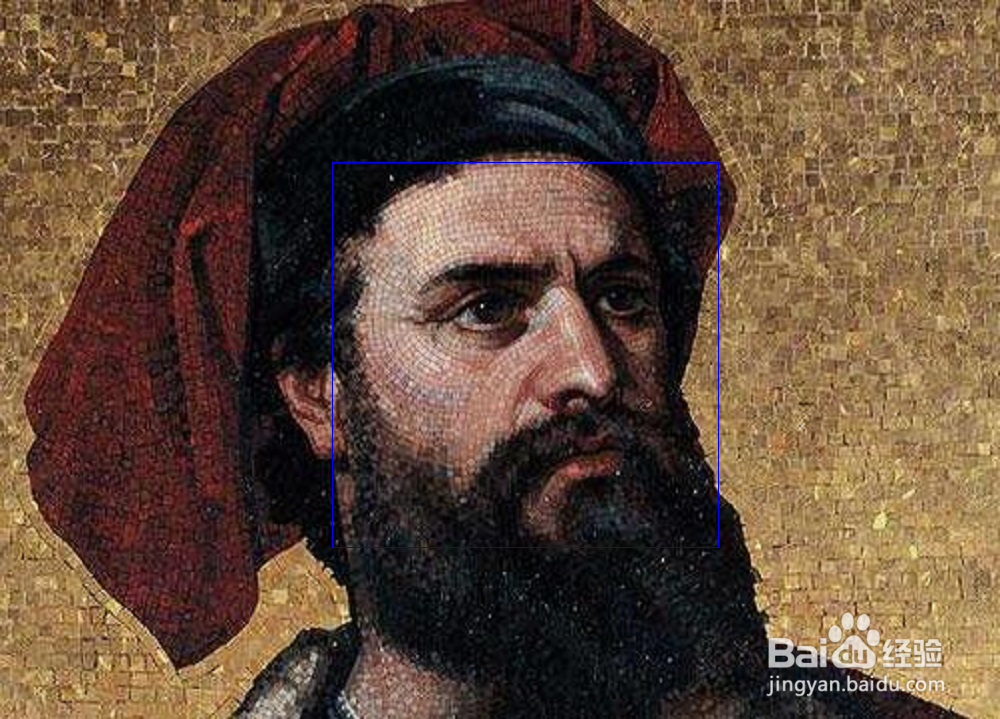
4、在原图中,用蓝色框标出人脸。
cv2.rectangle(img,
(d.left(),d.top()),
(d.right(),d.bottom()),
(255,0,0))
5、再训练一个人脸特征点检测器:
points = dlib.shape_predictor(r'D:\……\shape_predictor_68_face_landmarks.dat')
这里需要提供绝对路径!
而shape_predictor_68_face_landmarks.dat是一个训练好了的模型,可以在
https://pan.baidu.com/s/1dFBYP89ON1V9eKBvG9UwDA下载,密码是hy7x。

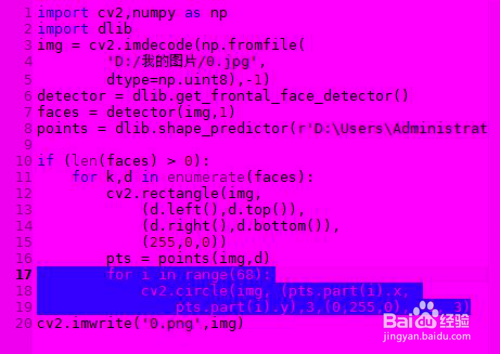
6、用人脸特征点检测器来检测d范围内的特征点:
pts = points(img,d)
在图像中标注出这些特征点。
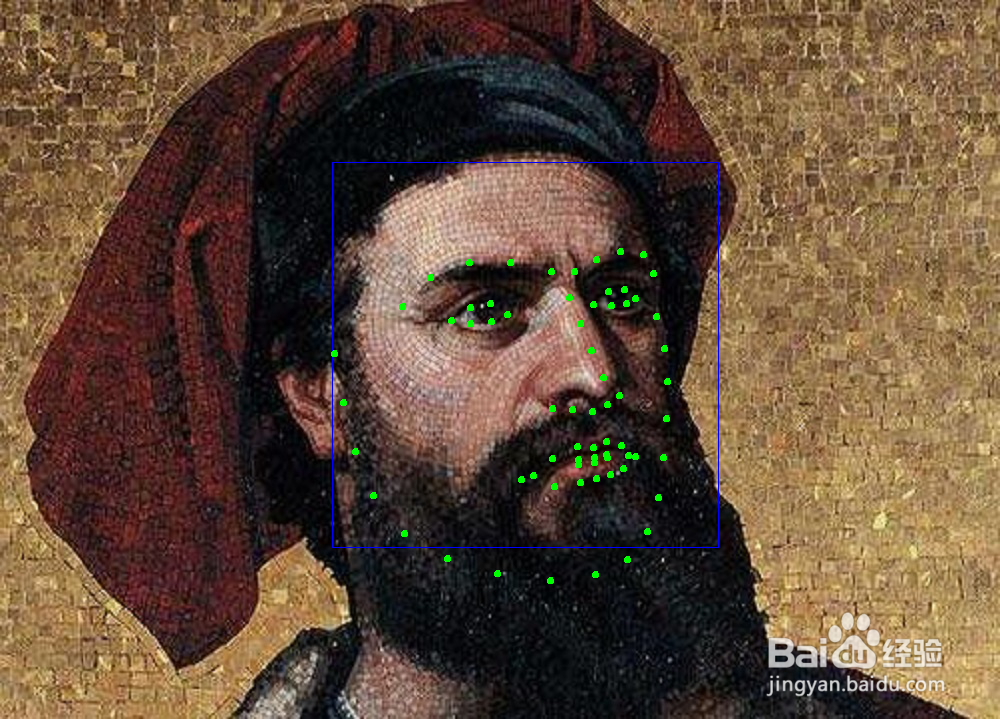
7、可以看到,68个特征点已经全部标注出来了,而且都限制在蓝色框内部。
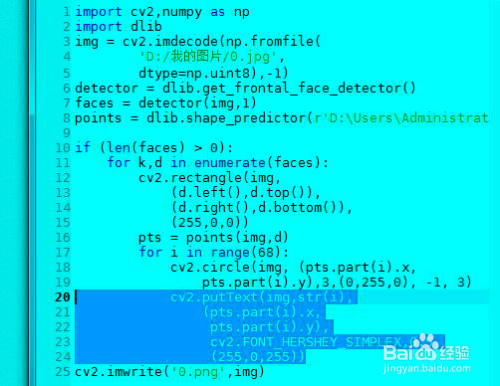
8、给这些特征点加上标签:
cv2.putText(img,str(i),
(pts.part(i).x,
pts.part(i).y),
cv2.FONT_HERSHEY_SIMPLEX,0.5,
(255,0,255))
9、原图变成这样了。
