1、用PS打开LOGO原图。

2、双击“背景”图层,解锁图层。

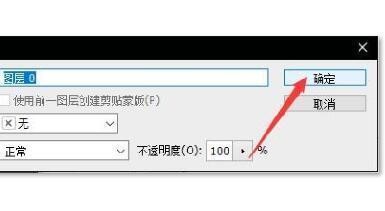
3、点击“确定”。
4、点击“选择”。

5、点击“色彩范围”。

6、色彩容差设置为0(视具体情况而定).

7、点击“确定”。

8、点击使用“魔棒工具”

9、在选区中点击右键。

10、点击“建立工作路径”

11、点击使用“路径选择工具”

12、点击图示图标。

13、选择“排除重叠形状”。

14、然后点击“合并形状组件”

15、点击“文件”

16、点击“导出”。

17、点击“路径到Illustrator”

18、点击“确定”

19、点击“保存”。这样就得到了AI格式的矢量图。
