1、首先到谷歌官网下载对应自己版本的NDK文件:
Android NDKhttp://dl.google.com/android/ndk/android-ndk32-r10-linux-x86.tar.bz2http://dl.google.com/android/ndk/android-ndk32-r10-linux-x86_64.tar.bzhttp://dl.google.com/android/ndk/android-ndk64-r10-linux-x86.tar.bz2http://dl.google.com/android/ndk/android-ndk64-r10-linux-x86_64.tar.bz2
并放入Linux中。我这里选择的是第一个

2、将其解压出来输入命令:tar jxf android-ndk32-r10-linux-x86.tar.bz2
如果是.bin文件的话给该文件加上可执行权限后sudo chmod a+x (file) 直接执行该文件即可。

3、配置环境变量
用root权限打开文件 :sudo vim /etc/profile
然后输入root用户密码。
打开在最后一行中加入如下 其中“/home/nguhyw/android/android-ndk32-r10" 这是ndk解压出来的目录
NDKROOT="/home/nguhyw/android/android-ndk32-r10"
export PATH=$NDKROOT:$PATH

4、在编辑器界面按下Esc退出编辑模式然后输入 :qw 保存退出
输入命令:source /etc/profile
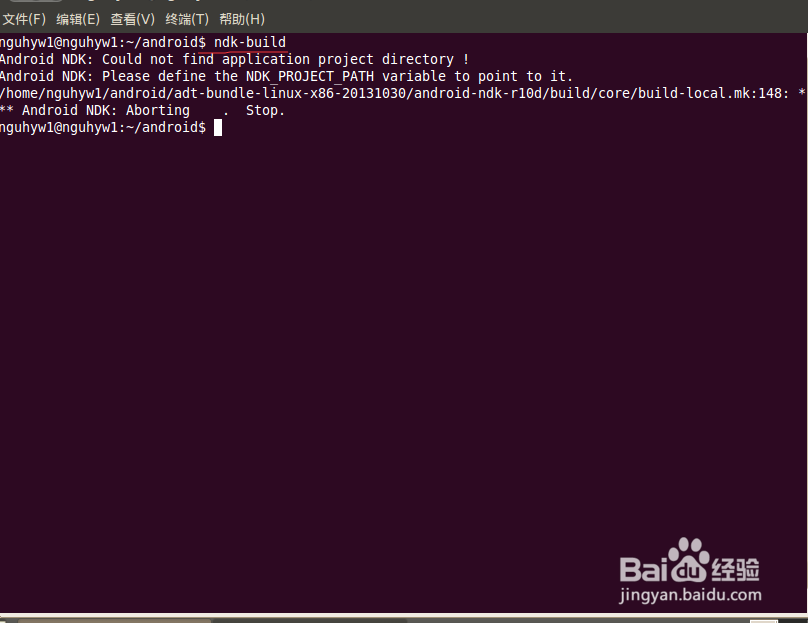
使配置生效,然后在任意目录下输入ndk-build 出现如下信息则说明配置正确。
Android NDK: Could not find application project directory !
Android NDK: Please define the NDK_PROJECT_PATH variable to point to it.
/home/nguhyw/android/android-ndk-r9d/build/core/build-local.mk:148: *** Android NDK: Aborting . Stop.